For the group project segment of our degree, we’re building a train puzzle game called Locomotion. I’m one of the Level Designers, and in the later stages of development I started to make notes on the process. This, then, is another post to clear those up and give an idea of my thought processes, in my own (thankfully) inimitable style.
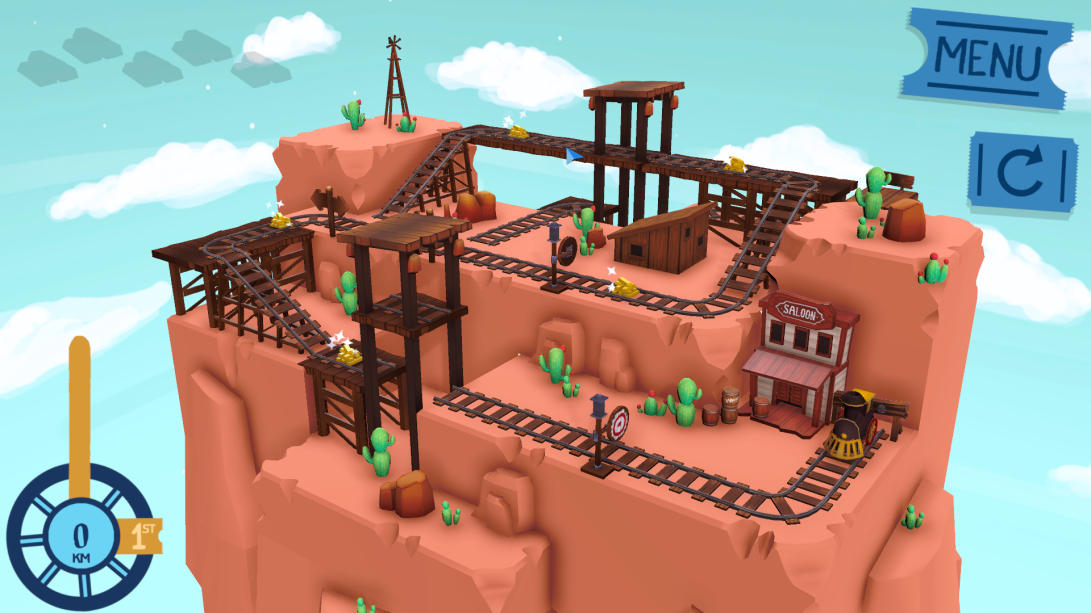
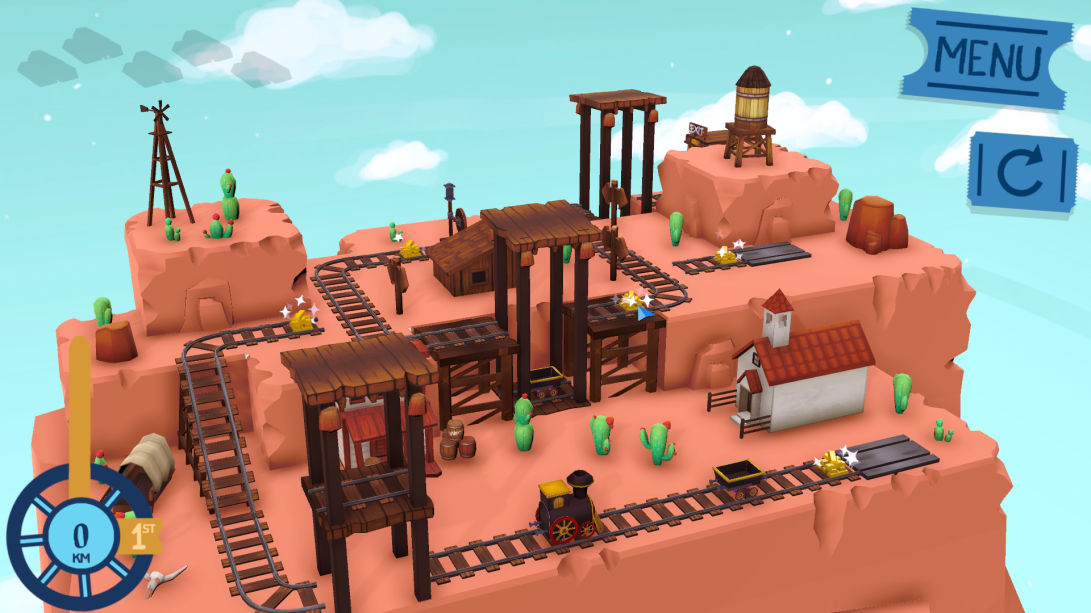
Firstly a quick summary of Locomotion: players control a train on a track, which they can drive forwards and backwards, with the goal of collecting treasure and reaching the exit of each level – think “Lara Croft: Go” or “Toad’s Treasure Tracks.” Puzzles are built with interactive elements – lifts, wagons, t-junctions, turntables – some of which are activated manually, some by the train passing switches on the track.
Teaching the player
I used to make maps for the Portal games, and be pretty active in the community: i’ve spent far more time working with Team Fortress 2, but Portal was where I learnt my craft. Valve had a simple set of rules for teaching players how to use their mechanics, a three-step process: show the player a mechanic, allow the player to use it, and then reuse it in concert with other mechanics. This was my bible when developing those levels which introduced new puzzle elements: show, try, layer.
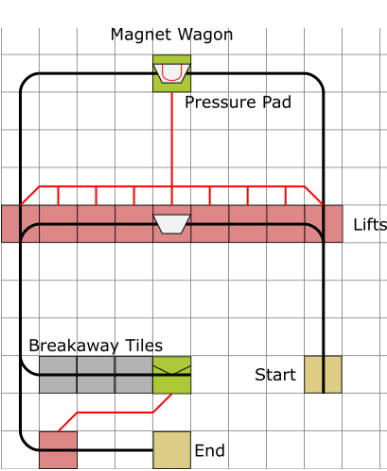
 This level, for example, introduces the wagons and pressure pads: it needs to show a few things to players. How do they push wagons? How do they connect to wagons? How do pressure pads work? So the first thing that I do with the player is lock them in a confined section of track. They can go left and get stuck, or right (where an enticing reward sits) and push the wagon. The wagon goes onto the pressure pad – which lowers the lift. Players have learned how to push wagons and press pressure pads without a conscious thought or a written instruction. When we tested this level, it worked perfectly – not a single playtester got stuck here.
The later section of the level requires thought. Players can use an automatic switch to lift the second wagon up to the top, and it’s a little more complex to get the wagon onto the button – you can either push it all the way around the upper loop(and through some T-junctions) or attach to it and pull it. Whichever way they do it, there’s more freedom, more scope to make mistakes – but once the second wagon is on the second pressure plate, the route to the exit is clear. Once again, almost all players figured it out easily: the only sticking point was connecting the wagon to the train, and even without instructions a UI hint allowed perhaps three in four players to do that too.
 The next level takes the wagon mechanics and combines them with the turntables, putting a new restriction on where wagons can be moved. I shan’t go through in detail, but the pattern remains: players see the turntables and how they can work, use them, and then combine them with the wagon.
This pattern was repeated over and over again, one after another for each mechanic: put the player in a position where they have to use the mechanic, then layer in successively more complex uses, restrictions, and tricks. For our first main playtest, we left in almost none of the planned instructions: I personally wanted to use as few written instructions as possible, and suggested that we run a playtest without any, in order to track which ones were actually needed. In the end only a few were – players caught on to every element without instructions easily, the only sticking points being the keyboard controls.
Level Story
As suggested by Ghost Town Games (our mentors and patrons), I wrote a “story” for each level – how players were expected to use it, what mistakes they should make each time, and how complicated a solution it should be. An example story below:
Once again the player starts trapped, here right next to a pressure pad: the obvious thing to do is to look around for a wagon, and find it at the other side of the turntables. Perhaps the player will immediately realise – or perhaps they will need to try and fail – that the turntables only operate with a train on, meaning that all three turntables must be lined up to get the wagon and go. Since you can only cross onto a turntable in the right orientation, the next job is to identify – through thought, or trial and error – what order to use the turntables in (the correct order is first, second, third.) Once this is done, the wagon can be taken to the pressure plate and the player can finish the level.
I found this to be a great way of laying out my thoughts, a really clear narrative from a player perspective.
Design Principles
Early on in design, I chose a set of design principles for myself, and to distribute if other people wanted to make levels.
- No bigger than 10×10 unless necessary, and roughly square
Keep levels small and square-ish: not only is this much easier to see with the camera, but it fits the “small and sweet” aesthetic better.
Don’t waste the player’s time or space, but consider reshaping long and thin levels.
Unless there’s a good reason, don’t spread over more than a few height levels.
- As clear as possible
Avoid elevators going down into the ground, avoid “tunnels” if possible.
Players don’t need to see all level functions from any one point, but it should be possible to get an “overview” or general idea of the layout from at least one location.
Make sure that from key angles, scenery pieces don’t obstruct puzzle elements.
- A nod to verisimilitude
Try to avoid completely discarding realistic shapes of buildings and ground, but clarity is far more important.
Sketching out Mountains/chasms/bluffs etc will combine well with the cuboid aesthetic to sell the environments as more than merely puzzles.
- Space tracks
Try and space out tracks when possible, use straight track pieces to spread out puzzle elements.
- Not too much flat space
Conversely to the last, don’t have too many large empty plateaus. Use scenery props to break up these areas.
- Collectible
Remember that all are mandatory: players will have to collect all before completing the level.
Use collectibles to guide players towards solutions – or to guide them away to make simple puzzles seem more complex.
These changed a little over time: we rebuilt the camera, allowing levels to extend to 15×15 and still be visible, and as of writing we’re debating whether collectibles should be optional. (I think they should – we can throw in all sorts of neat tricks to get collectibles that might not support whole levels – or that might be too lateral (or, in another word, too bullshit) to hang a whole level on. Being optional doesn’t stop us from using them to lure players around.)
I hope this has given you an idea of what goes into the level design! Locomotion will be showcased at the Norwich Gaming Festival in June 2017, and we’re hoping for a release soon after that.